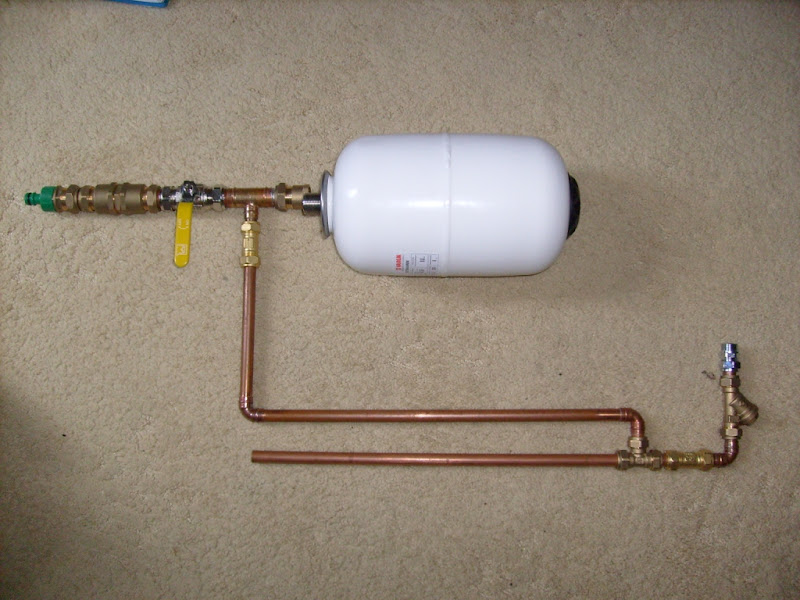
It has 22mm OD (20mm ID) pipe from the pressure chamber up to the hose nozzle (can be unscrewed for a riot blast), and 15mm OD (13mm ID) pipe for the rest.
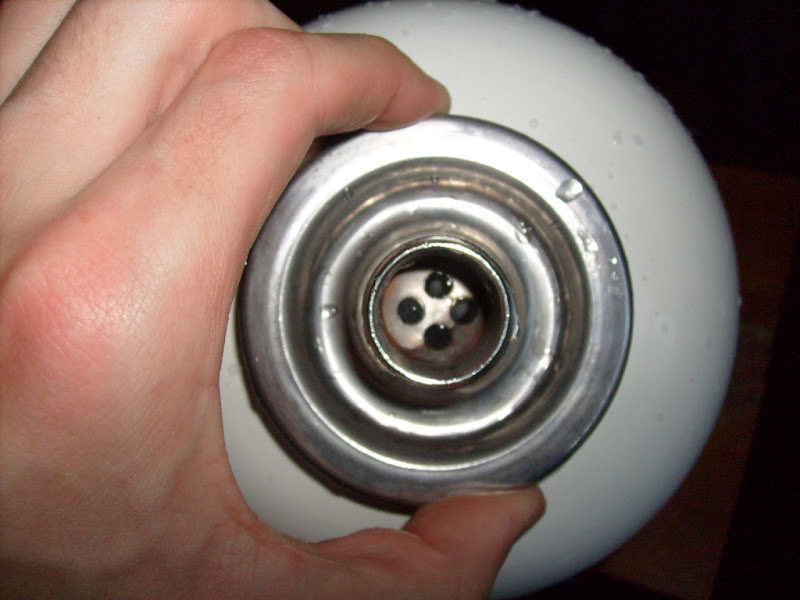
The 5 litre expansion tank (the big white thing) has a rubber membrane which separates the air and water, and allows for a precharge which won't get wasted at the end of a shot. In theory this pressure chamber should be able to handle over 8bar (116psi), although I may struggle to reach 7bar (100psi) with the hand pump.
The large brass fitting behind the nozzle is the laminator (made using similar techniques preciously shown by JLspacemarine on this forum).
It uses a 20L backpack reservoir (also derived from sscentral).
I can currently (but have not as yet) use it without a pump (which I haven't got round to finishing), by pressurising the PC through the hose nozzle.
I eventually want a wooden handgrip/stock in the centre, with a bike cable operated trigger.
I am however struggling a bit with the pump itself.
I have read the articles on constructing a pump, but am unsure whether to use a hardwood or softwood (pine) wooden dowel, as well as what diameter to use based on my 13mm internal diameter pump housing. I can get 12mm or 9mm diameter wooden dowel. The 12mm would seem the better fit, but I am worried about how much it might expand (hence the softwood/hardwood question), whereas the 9mm might be too narrow, and I might not be able to find o-rings large enough to fill the gap. I don't really want to file down the diameter of a larger dowel over its entire length, as I doubt that I can do it accurately!
Any suggestions for the pump material/size would be appreciated!