CPS 2000 Bladder repair, how to...
Posted: Thu Jun 01, 2006 12:58 am
I apologise in advance for the size of the pictures. I had photobucket reduce the size and I still get these monster pics. When I figure out what I did wrong I'll fix it.
Well, I was told that nobody had documented this procedure so I will try to do so now.
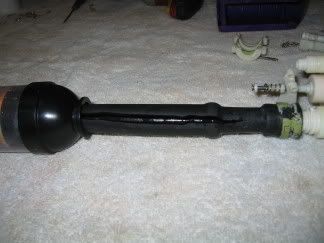
The sad beginning:
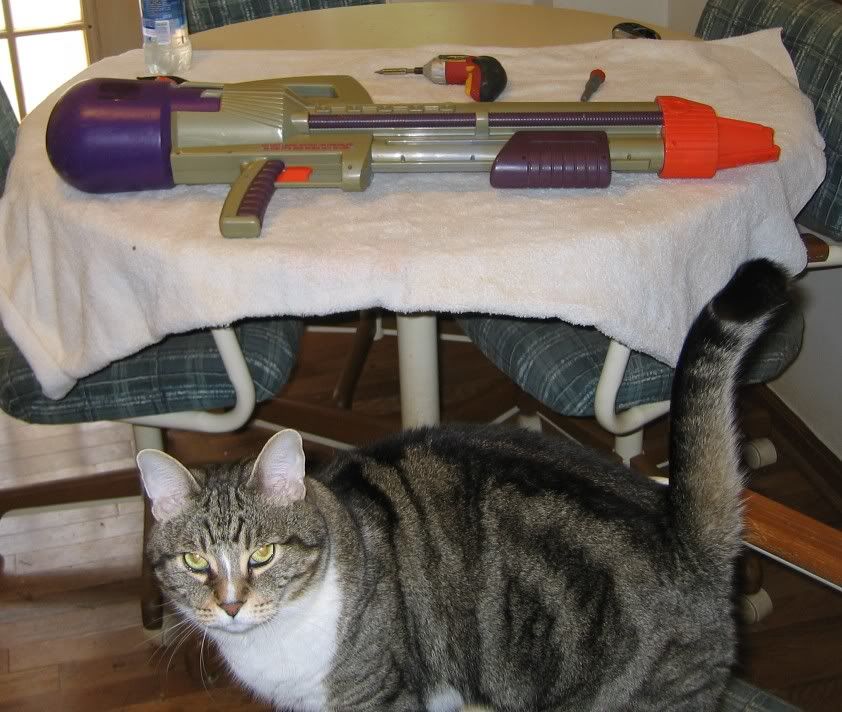
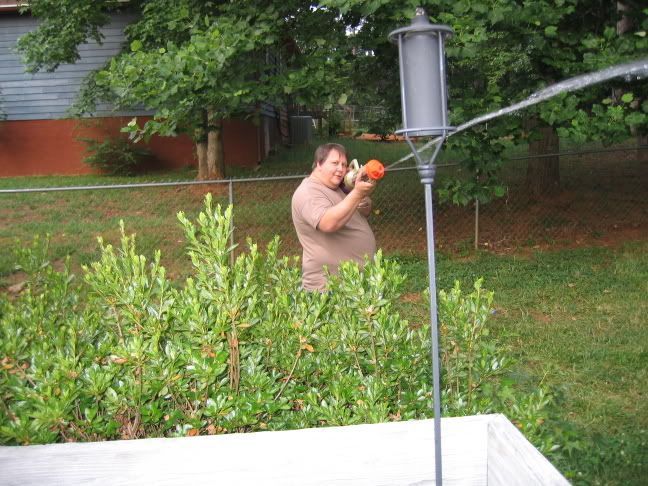
My project and assistant:
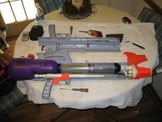
After opening the gun just remove the pin that holds the valve release
lever in place, unscrew the feed line and lift out the valve and chamber while twisting it to remove the release lever from the trigger wire. And lift out the whole unit.

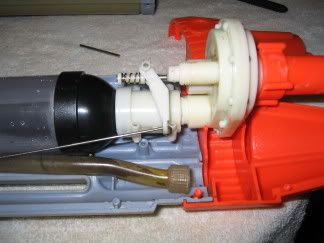
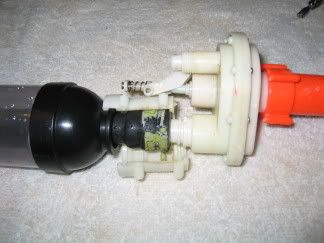
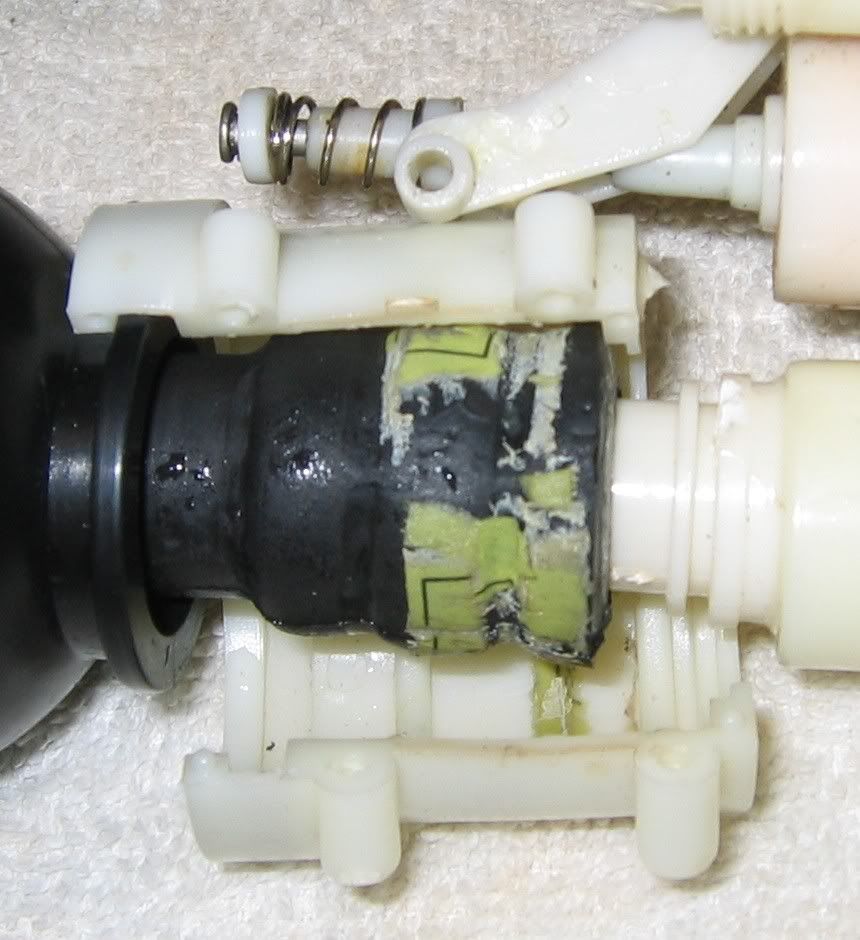
Unscrew the clamp holding the tubing to the valve and pry it off. There may be some adhesive holding it on. The end cap on the chamber was glued on so I had to cut it off with a dremel tool. Then just slide out the bladder assembly.

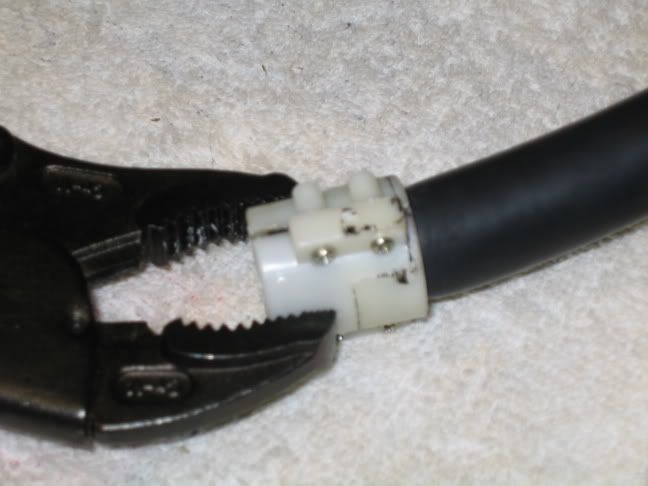
At this point I got busy and forgot to take pictures (Sorry) but all you have to do is tap the clamp assembly out of the plastic plug that has the line on it for the fill gauge. I put it on a roll of electrical tape and tapped it out using a screwdriver and hammer. This clamp comes apart just like the other end except that there is a plug in the end of the bladder tube. You need to order two types of tubing from McMaster Carr. Part numbers 5234K86 and 5234K92. They have minimum lengths you have to order but the whole thing came to $33.59 including shipping.
 Using the old bladder cut a piece of the smaller tubing to match. To reassmeble the clamp I would recommend some epoxy glue and vice grips. Make sure the plug and inside of the tube are clean and dry. Put a small amount of epoxy on the inside of the tube and on the plug and put it in. Put the two halves of the clamp together, clamp it together with the vice grips and put the screws back in.
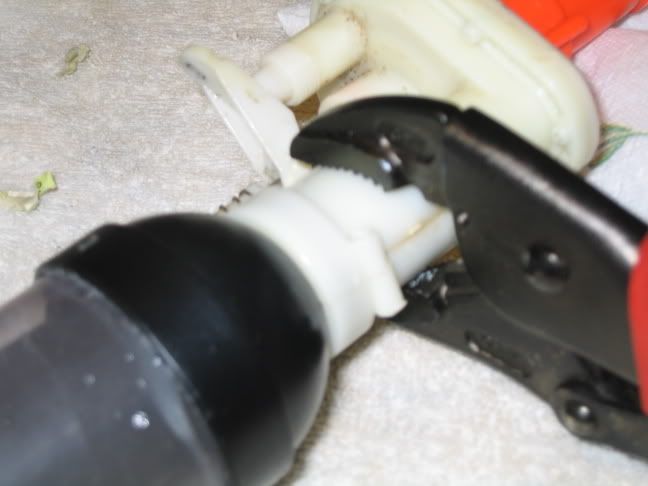
 Slide the tubing through the plastic plug and press the clamp into place (Remove the vice grips first). then cut a piece of the larger tubing about 1 1/2" shorter than the small one and slide it over the smaller tube. Put the tubing back through the chamber leaving the longer piece sticking out the other end. Reassemble the clamp at the valve end the same way as other clamp except put it on the valve instead of a plug.
 Now put everything back together and give the glue time to dry.
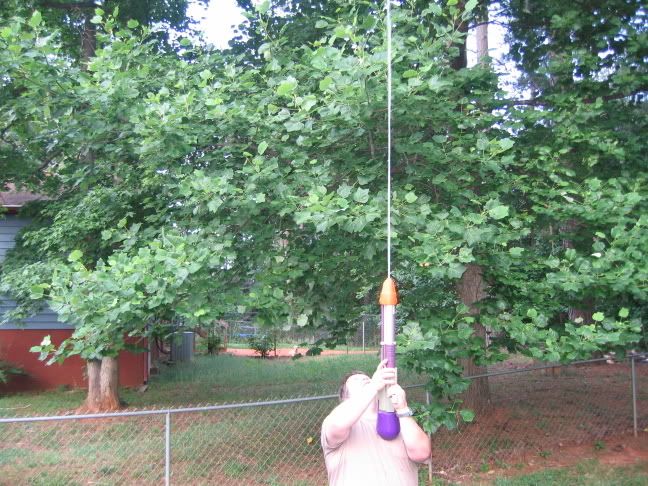
And here are the results:

Well, I was told that nobody had documented this procedure so I will try to do so now.
The sad beginning:
My project and assistant:
After opening the gun just remove the pin that holds the valve release
lever in place, unscrew the feed line and lift out the valve and chamber while twisting it to remove the release lever from the trigger wire. And lift out the whole unit.
Unscrew the clamp holding the tubing to the valve and pry it off. There may be some adhesive holding it on. The end cap on the chamber was glued on so I had to cut it off with a dremel tool. Then just slide out the bladder assembly.
At this point I got busy and forgot to take pictures (Sorry) but all you have to do is tap the clamp assembly out of the plastic plug that has the line on it for the fill gauge. I put it on a roll of electrical tape and tapped it out using a screwdriver and hammer. This clamp comes apart just like the other end except that there is a plug in the end of the bladder tube. You need to order two types of tubing from McMaster Carr. Part numbers 5234K86 and 5234K92. They have minimum lengths you have to order but the whole thing came to $33.59 including shipping.
Using the old bladder cut a piece of the smaller tubing to match. To reassmeble the clamp I would recommend some epoxy glue and vice grips. Make sure the plug and inside of the tube are clean and dry. Put a small amount of epoxy on the inside of the tube and on the plug and put it in. Put the two halves of the clamp together, clamp it together with the vice grips and put the screws back in. Slide the tubing through the plastic plug and press the clamp into place (Remove the vice grips first). then cut a piece of the larger tubing about 1 1/2" shorter than the small one and slide it over the smaller tube. Put the tubing back through the chamber leaving the longer piece sticking out the other end. Reassemble the clamp at the valve end the same way as other clamp except put it on the valve instead of a plug. Now put everything back together and give the glue time to dry.And here are the results: